
Hello, In this guide we are going to talk about how you can build a website for free without any cost. We will guide you from getting your domain, to getting your hosting and everything else until you have a final completed site.
You may wonder how long will it take. We can guarantee you that if you follow the steps listed below clearly, you will be able to build your site within 24 hours.
So without wasting time, let’s get started.
Step 1: Getting a Domain and hosting
It will be hard to get a free Top Level Domain (TLD) so we will working with a sub domain. We will be using a free subdomain and free WordPress hosting to create our website. There are multiple options to get your free WordPress hosting but I will be discussing a platform which will provide both a subdomain and hosting to us.
It is infinityfree.
Create your InfinityFree Account
- Go to infinityfree.com and create your free account
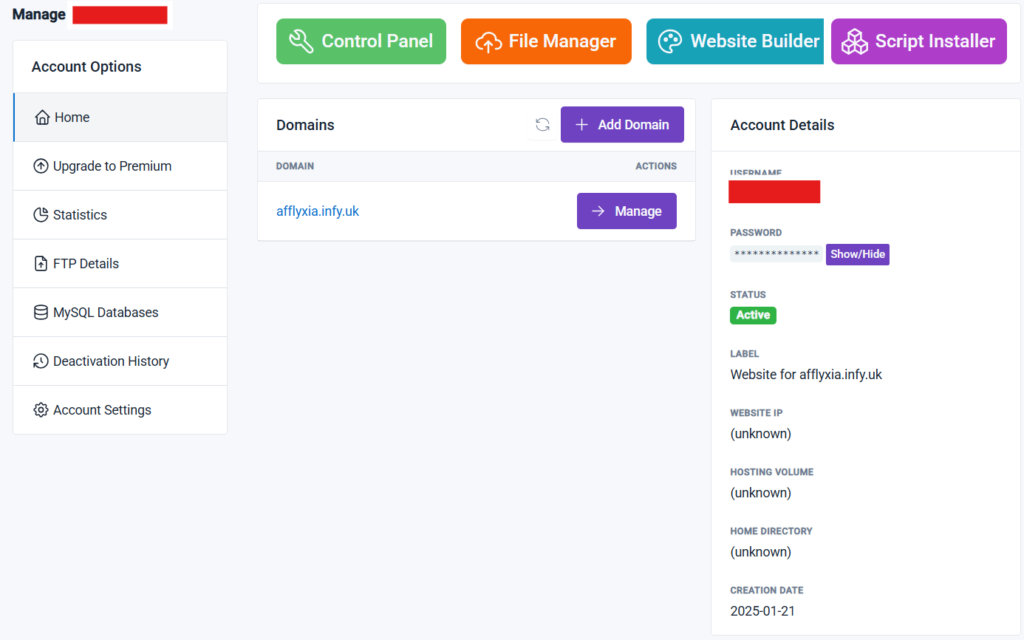
- After creating your account you will be redirected to your client area which will look something like this:
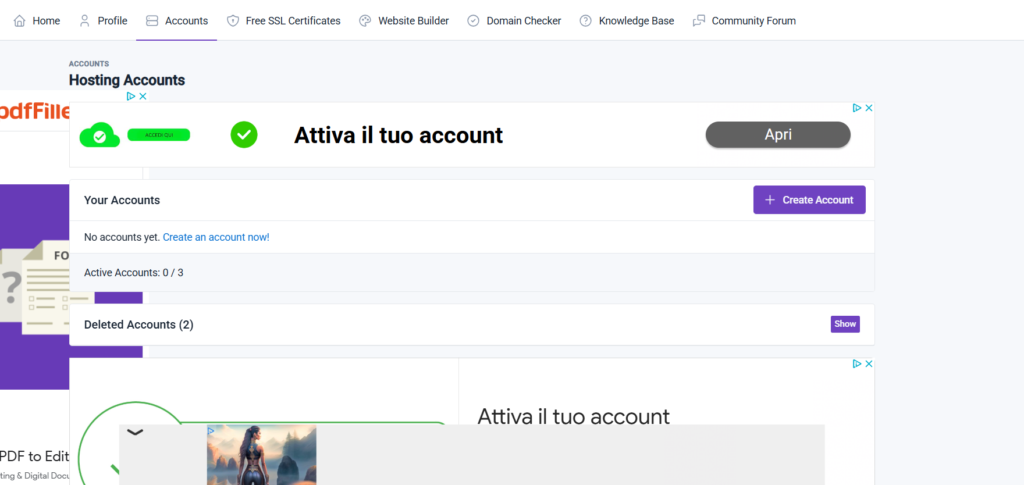
Don’t mind the ads. You know free stuffs always have ads
- Now create your hosting account. Don’t confuse it with your infinity free account. You can create a maximum of 3 hosting account per infinityfree account.
If you already have your hosting account created then it’s good, you can move to the next step. If not then follow along with me.
Creating your InfinityFree Hosting Account
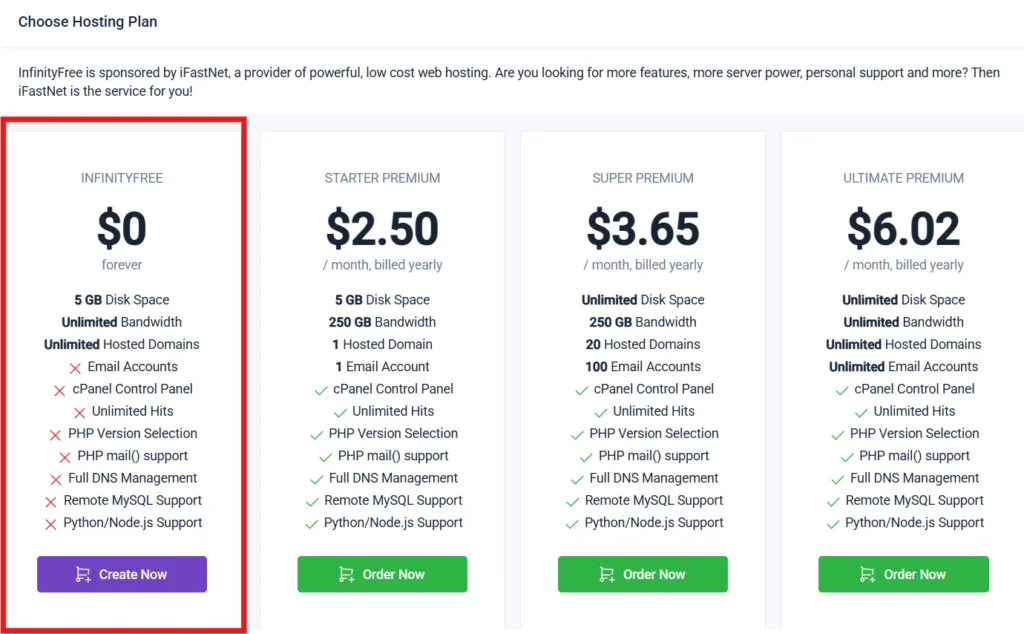
- Click on the Create Account Button

- Choose the free infinity free account
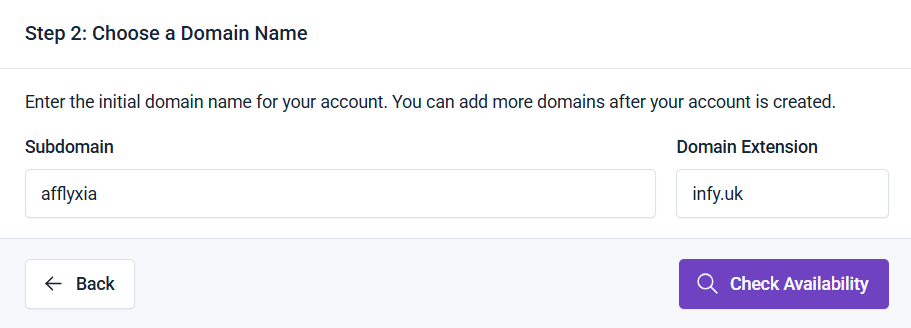
- Choose a subdomain name and the subdomain extension
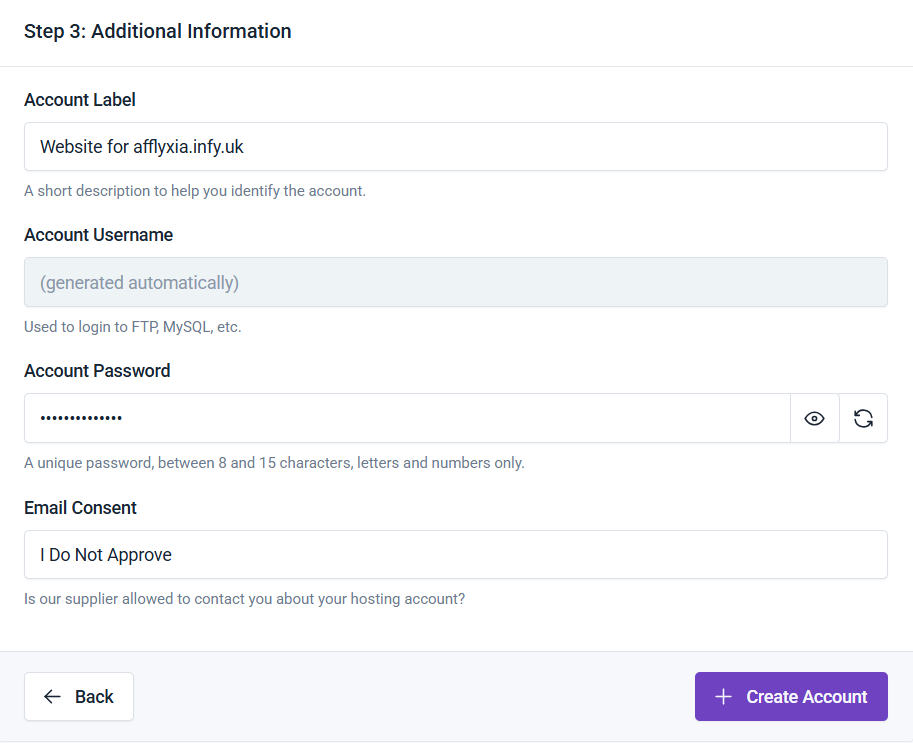
- Now if your subdomain is available you will redirected to set the label and password of your account. Just do it and click on the create account button
- After creating your account, you will be redirected to your account dashboard where you will be able to manage each and every part of your hosting account.
Remember your hosting account is different from your infinityfree account
Okay, Now your hosting account is created. Now let’s install SSL certificate in our domain to make the domain secure (like https://yourdomain.com)
- Click on the Free SSL Certificates tab.

- Now Click on the New SSL Certificate Button and it will ask for the domain name on which you want the SSL Certificate.
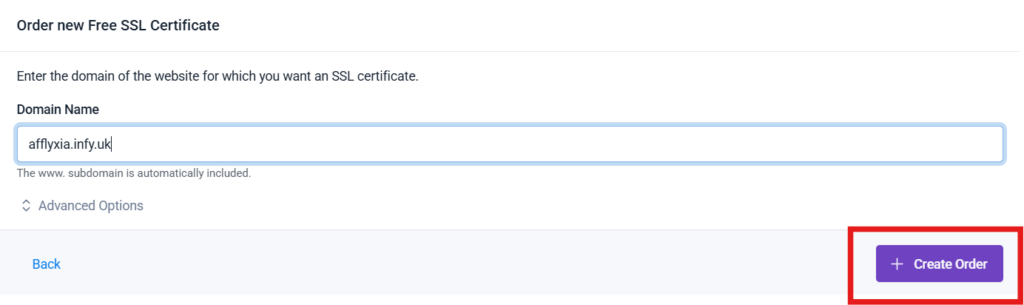
- After putting your domain name click on the Create Order Button
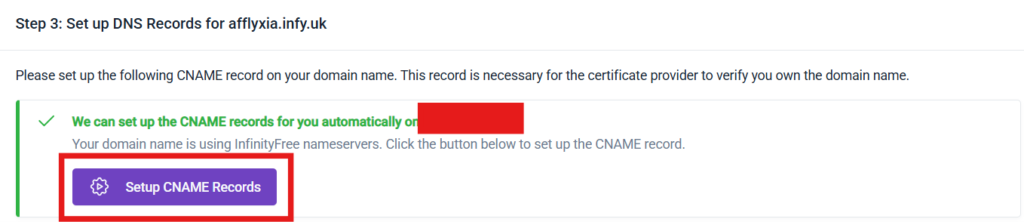
- Now you have to setup your CNAME records. Just click on the Setup CNAME Records Button and it will create your CNAME Records automatically
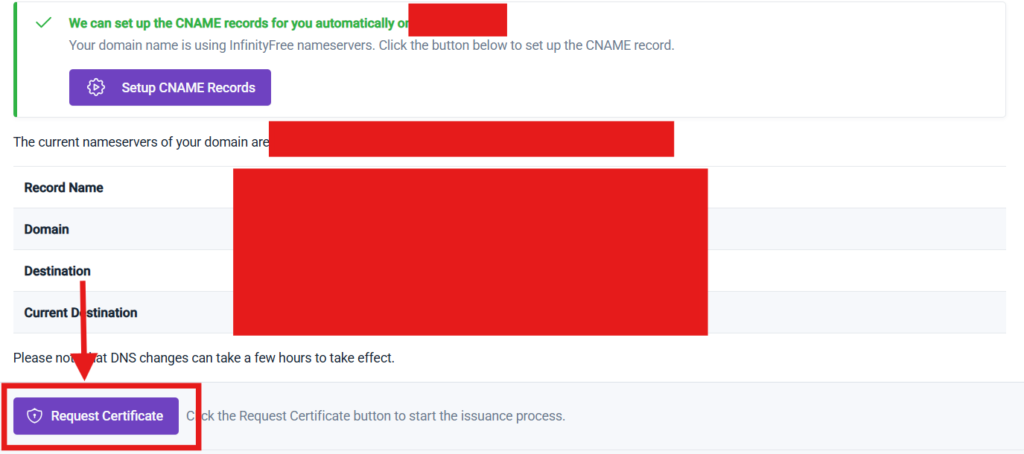
It will take some time for your CNAME records to be reflected on your account. So you may have wait for some time before you can request your SSL Certificate
- After your Request your SSL Certificate Button is available. Click on it to request your certificate.
- After the certificate is requested, you can install it in your website

Okay Now the SSL Certificate is installed. It may take upto 15 minutes for the effect to be seen in the website.
Now your domain is ready to be used to install wordpress.
Step 2: Installing WordPress
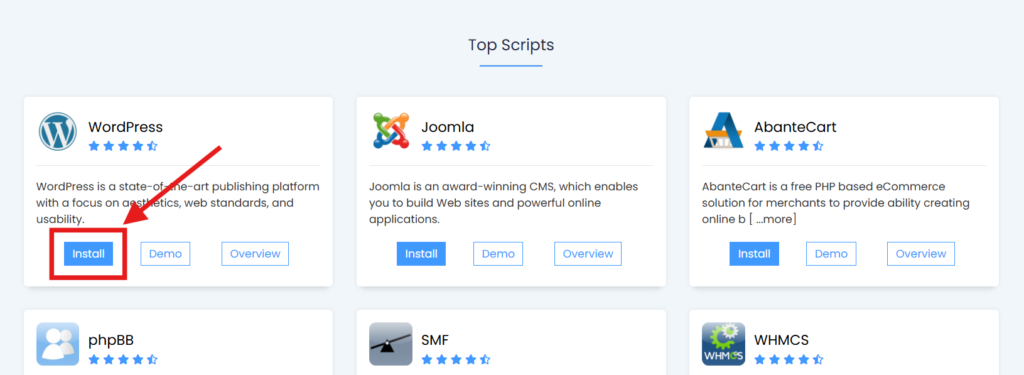
- Go to your hosting dashboard and click on the script installer

- Now click on the install wordpress button
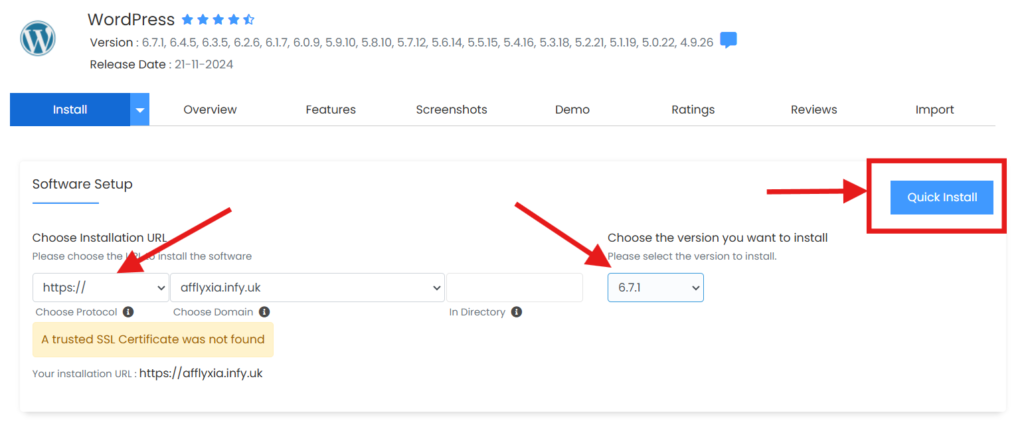
- Now select “https” in the protocol section and click on the quick install
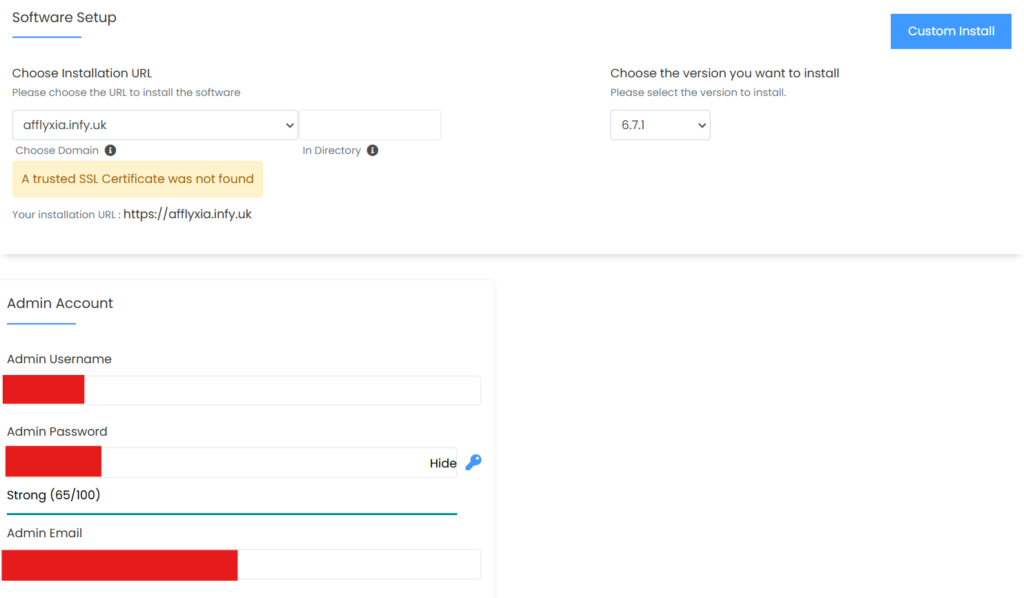
- Now Enter the Username, Password and Admin Email of your wordpress site and click on install button
It will install wordpress on your website within 3-5 minutes.
After that go to your wp-admin link of your website. It should be something like https://your-domain/wp-admin. For me it’s something like https://afflyxia.infy.uk/wp-admin.
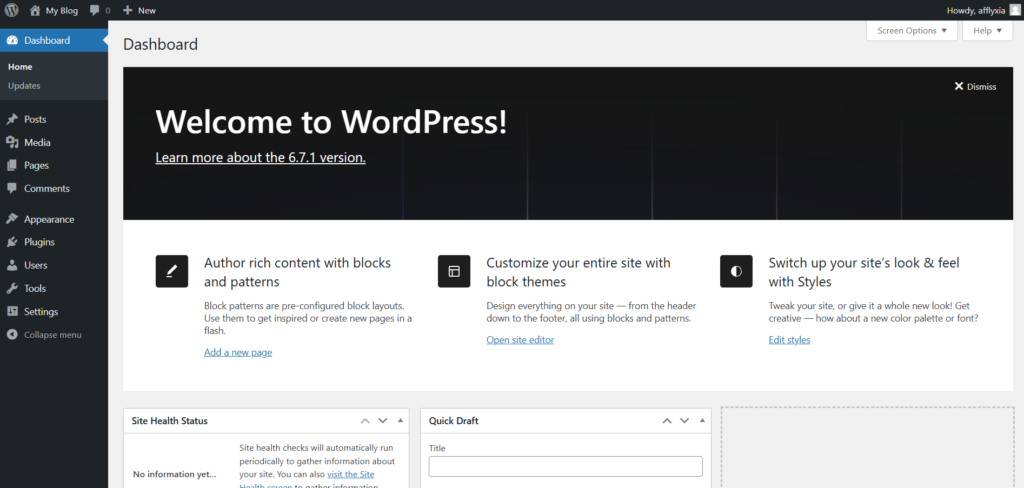
After going there, just input your username and password which you created while installing wordpress and log in. After logging in, you will be redirected to your admin panel which will look something like this:
Step 3: Setting up your WordPress and Building your site
Go to the settings tab. Click on the general section and setup your site title and tagline.
Also make sure that the wordpress address and site address has “https” instead of “http”. If there is “http” then just make it “https” by adding ‘s’ after “http”.
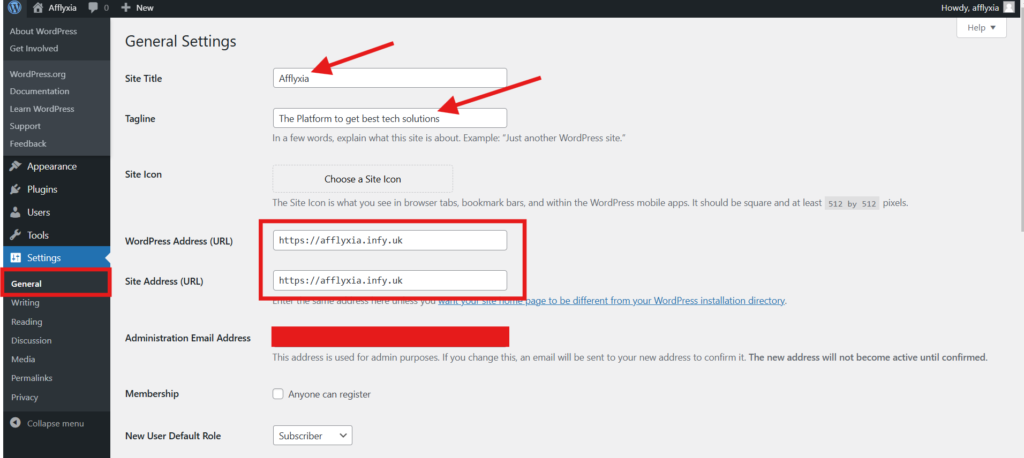
Now click on the save changes button which you can find at the bottom left after some scrolling.
You can also add a site icon if you have one. For now, I am just leaving it as it is. But if it is your business site then it is must to add a site icon to make it look more professional.
Installing Astra theme and starter templates
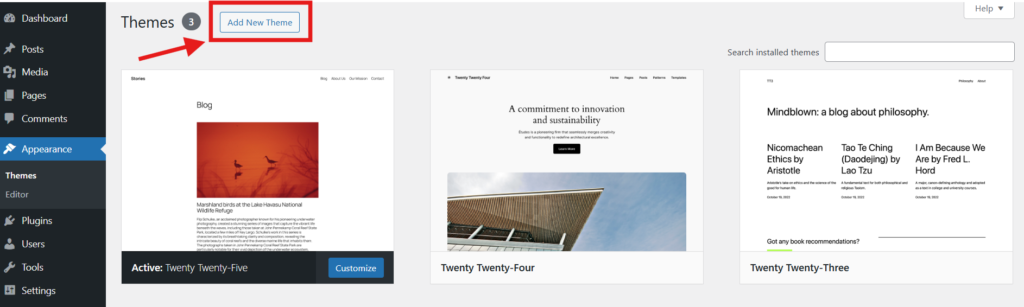
- Go to “Appearance” Section and Click on “Add New theme” Button
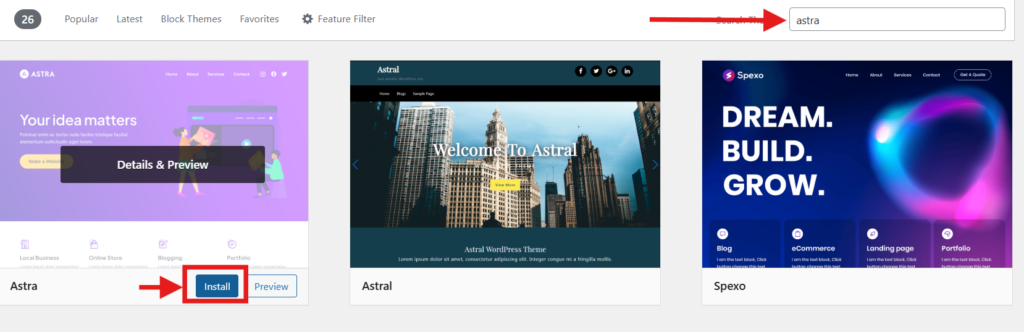
- Search “Astra” in the search box and Click on the install button
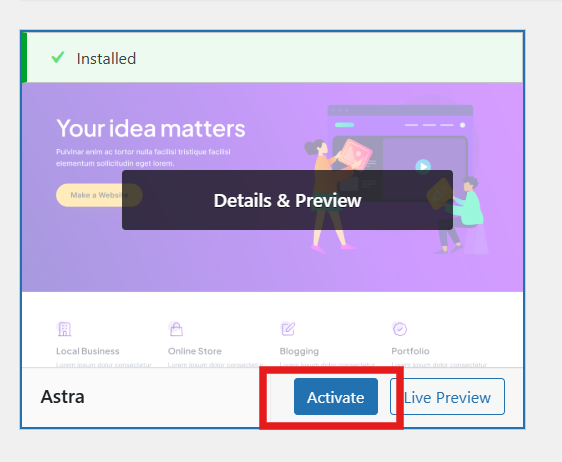
- After installing astra theme, Click on “Activate” Button to activate the theme
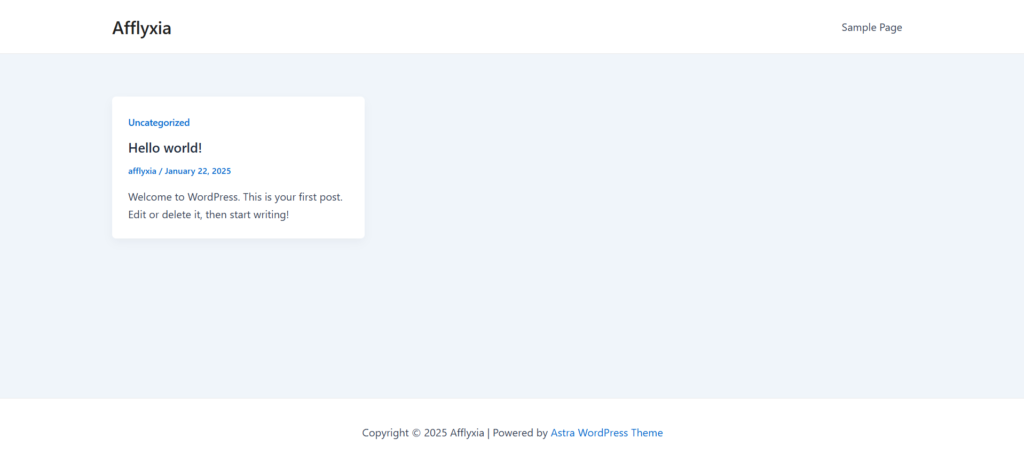
- Now go to your site address (for me, it’s https://afflyxia.infy.uk) and see how your site look. It should look something similar to this.
- Ok now let’s install starter templates plugin.
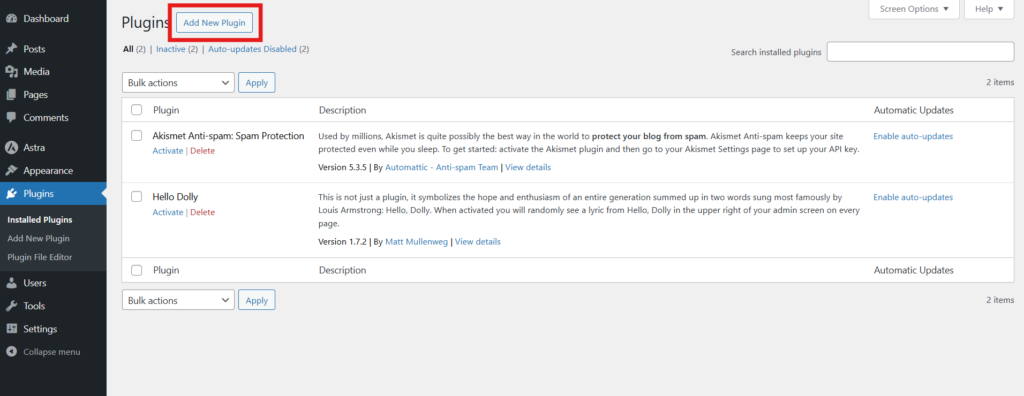
- Go to the Plugins section and click on “Add new plugin” button
- Now search for “Starter templates” in the search box. The plugin should pop up in the search results.
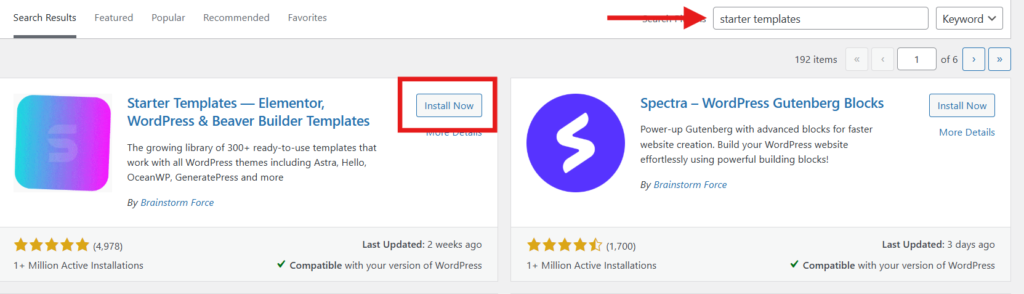
- Click on the Install Now Button. After installing, click on the activate button to activate the plugin
- After activating the plugin, it will popup a window like this:
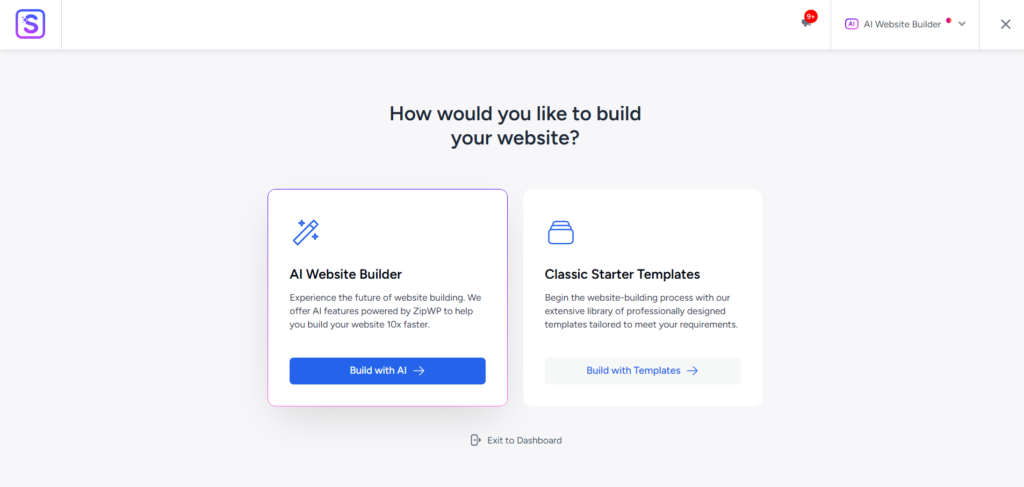
- Click on “Build with Templates” button
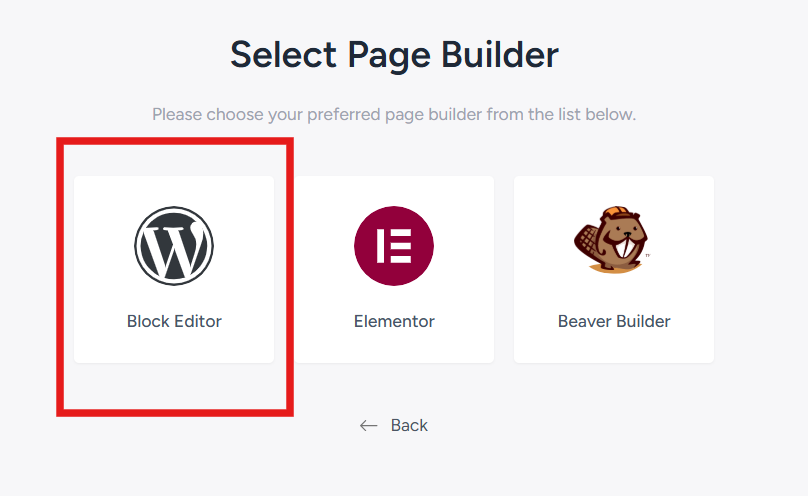
- After that, Click on “Block Editor”
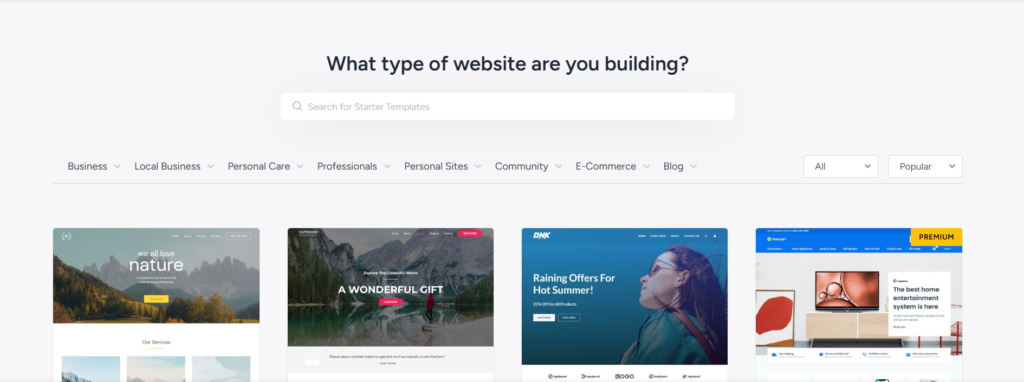
- Now it will list 100s of starter templates. Just Choose one you like and that fits your business needs.
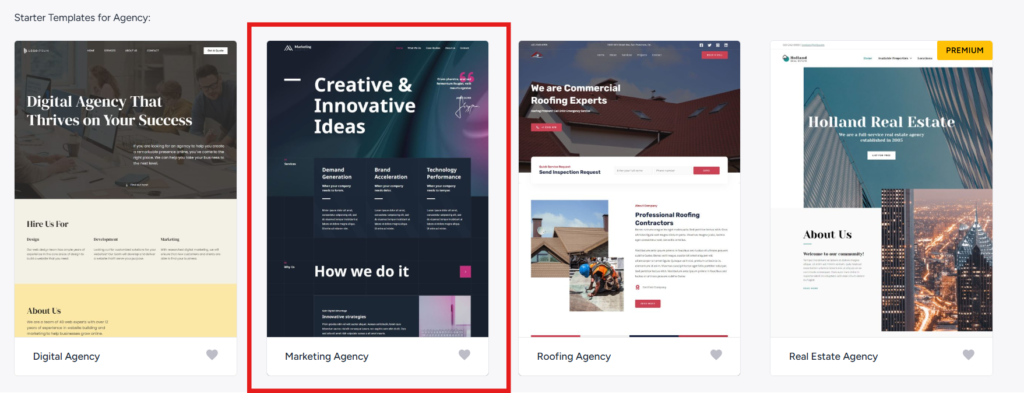
- I will just choose a template named “Marketing Agency”. You can choose whatever best fits your needs
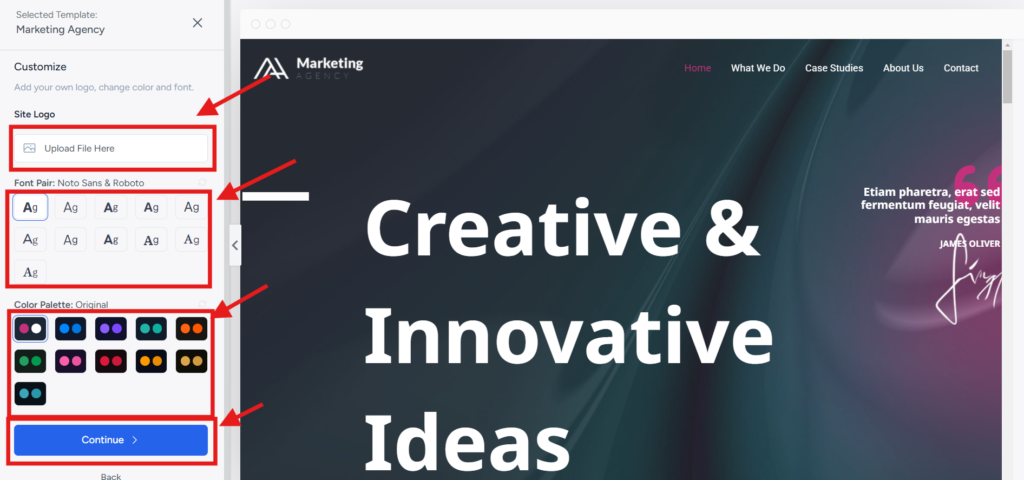
- Click on the template and Choose your fonts, color palette and site logo. After that, Click on Continue button
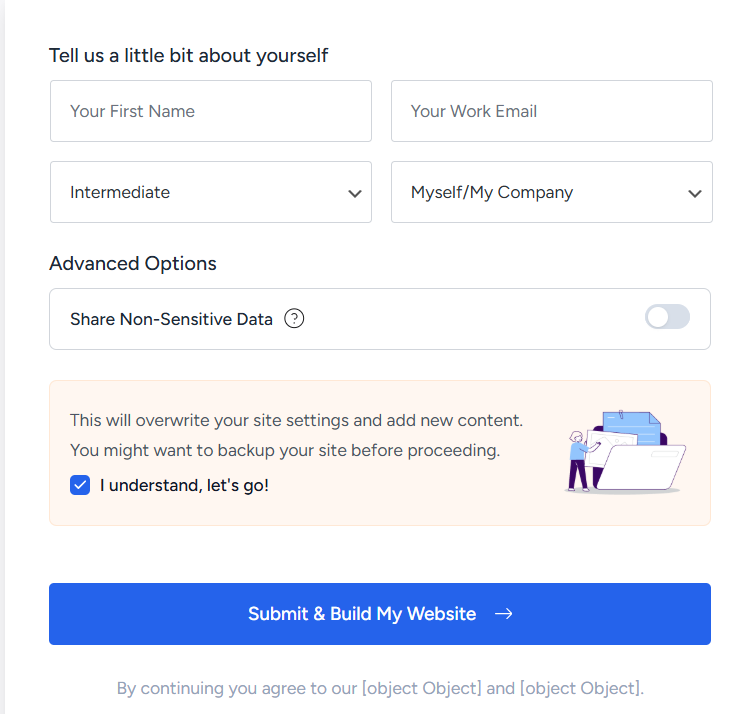
- Now Select the features which you want on your website and Click on Continue

- Now Check the “I understand, Let’s go” Checkbox and Click on Submit and Build my Website Button
- After that, it will install the template on your website and you can just edit the website content such as headings, paragraphs and images according to your business needs.
After that, You will have a complete site for your business.
Let me know in the comment section, if you need a more comprehensive and detailed guide.